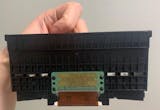
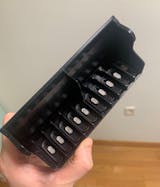
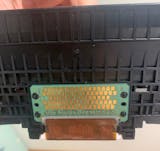
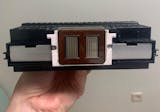
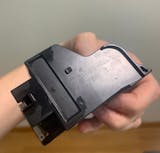
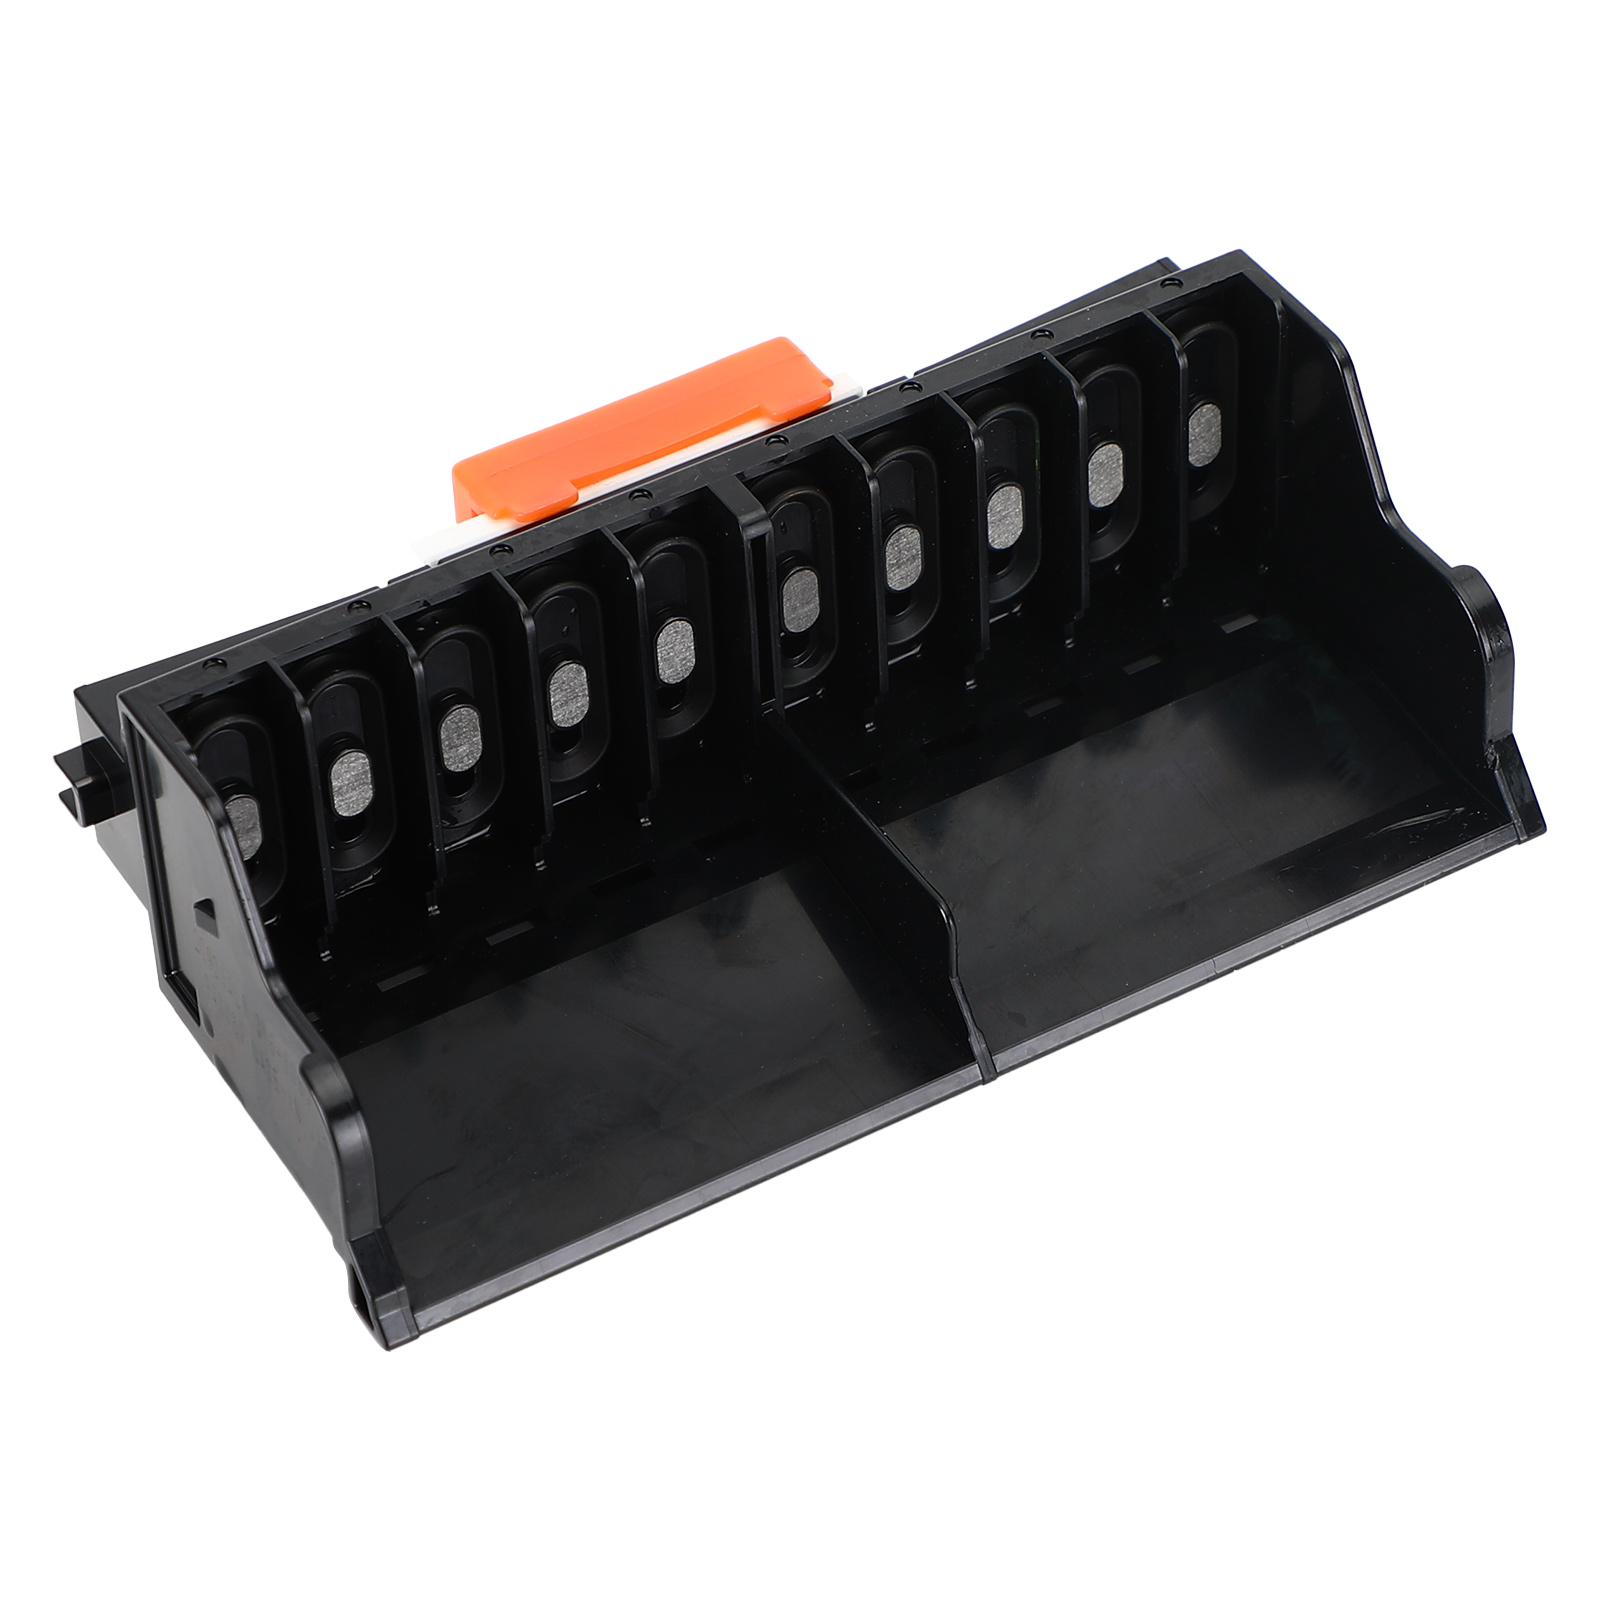
🖨️ Refurbished QY6-0085 Printhead


📦 What's Included
1 × QY6-0085 Refurbished Printhead
Tested, Sealed, Ready to Use
🚚 Shipping & Warranty
Free Shipping: Fast delivery within 3–8 business days
60-Day Returns: Return accepted within 60 days of delivery
Support: Lifetime customer service and replacement assistance
⚠️ Important Notes Before Installation
- Turn Off Power Before Installation: Always turn off the printer’s power before installing the printhead to avoid damaging the mainboard. 🔌
- Initial Run-In Period: After installing the printhead, do not install the ink ribbon immediately. First print at least 10 A4 pages to allow proper run-in. Then install the ribbon. 📄
- Check for Previous Damage: If your original printhead was leaking ink or damaged, the mainboard might already be affected. Please inspect and confirm the mainboard is working before replacing. 🛠️
- Fuse Replacement Caution: If replacing a fuse (F1 or F2) on the mainboard, use only the same model and current rating. Using incorrect fuses may damage both the printhead and the mainboard. ⚡
- Professional Installation Recommended: Printheads are delicate and costly. Incorrect installation can cause permanent damage. If you're not confident, seek help from a technician or service center. 🚫
⚠️ Before You Install – Please Read Carefully
-
Do NOT Inject Water into the Printhead: Never use a syringe to flush the printhead with water. This can:
- Wash away the factory-applied protective fluid
- Introduce air blockages
- Cause short circuits if powered on while wet
- Power Off Before Installation: Always turn off the power before installing the printhead. Ensure the printhead is firmly and correctly seated. 🔌
- Clean, Dry Cable Connections: Avoid any ink or moisture on the cable plug or socket. Ensure secure, clean connections to prevent contact failure. 🔗
- Lubricate the Steel Shaft Properly: Wipe the shaft with a paper towel dipped in a small amount of lubricant. Do not pour oil directly—excess oil can damage the printhead. 🛠️
-
Check Ink System:
- Ensure ink cartridges are not empty
- Check the cleaning blade and suction pump for dirt or clogs 🧽
-
Initial Printhead Air Discharge Process: New printheads contain air and may not print clearly at first. To remove trapped air:
- Use the printer’s cleaning function twice
- Wait 30 minutes, then clean twice again
- Avoid excessive cleaning—it may cause ink mixing, leaks, or waste
- Print full-color images to help discharge air naturally 🖨️
✅ Pro Tip: If you’re not confident with installation, it’s strongly recommended to have a technician perform the replacement to avoid damage or voided warranty.
❓ FAQ
Replacement PrintHead Print Head For Pro10 Pro 10 Pro-10 QY6-0085
- Unit price
- / per
Adding product to your cart
You may also like
🖨️ Refurbished QY6-0085 Printhead


📦 What's Included
1 × QY6-0085 Refurbished Printhead
Tested, Sealed, Ready to Use

🚚 Shipping & Warranty
Free Shipping: Fast delivery within 3–8 business days
60-Day Returns: Return accepted within 60 days of delivery
Support: Lifetime customer service and replacement assistance
⚠️ Important Notes Before Installation
- Turn Off Power Before Installation: Always turn off the printer’s power before installing the printhead to avoid damaging the mainboard. 🔌
- Initial Run-In Period: After installing the printhead, do not install the ink ribbon immediately. First print at least 10 A4 pages to allow proper run-in. Then install the ribbon. 📄
- Check for Previous Damage: If your original printhead was leaking ink or damaged, the mainboard might already be affected. Please inspect and confirm the mainboard is working before replacing. 🛠️
- Fuse Replacement Caution: If replacing a fuse (F1 or F2) on the mainboard, use only the same model and current rating. Using incorrect fuses may damage both the printhead and the mainboard. ⚡
- Professional Installation Recommended: Printheads are delicate and costly. Incorrect installation can cause permanent damage. If you're not confident, seek help from a technician or service center. 🚫
⚠️ Before You Install – Please Read Carefully
-
Do NOT Inject Water into the Printhead: Never use a syringe to flush the printhead with water. This can:
- Wash away the factory-applied protective fluid
- Introduce air blockages
- Cause short circuits if powered on while wet
- Power Off Before Installation: Always turn off the power before installing the printhead. Ensure the printhead is firmly and correctly seated. 🔌
- Clean, Dry Cable Connections: Avoid any ink or moisture on the cable plug or socket. Ensure secure, clean connections to prevent contact failure. 🔗
- Lubricate the Steel Shaft Properly: Wipe the shaft with a paper towel dipped in a small amount of lubricant. Do not pour oil directly—excess oil can damage the printhead. 🛠️
-
Check Ink System:
- Ensure ink cartridges are not empty
- Check the cleaning blade and suction pump for dirt or clogs 🧽
-
Initial Printhead Air Discharge Process: New printheads contain air and may not print clearly at first. To remove trapped air:
- Use the printer’s cleaning function twice
- Wait 30 minutes, then clean twice again
- Avoid excessive cleaning—it may cause ink mixing, leaks, or waste
- Print full-color images to help discharge air naturally 🖨️
✅ Pro Tip: If you’re not confident with installation, it’s strongly recommended to have a technician perform the replacement to avoid damage or voided warranty.
❓ FAQ
You may also like
You may also like
I was nervous about replacing the printhead myself, but this one fit my Pro10 flawlessly. Printer recognized it right away and the output is just as good as OEM. Very pleased.
Installed this print head on my Pro-10 and it immediately fixed my streaking and color banding issues. Colors look rich and accurate again. Saved me from buying a new printer!
The replacement print head works perfectly with my Canon Pro-10, and my prints look as good as new. However, the packaging could have been a bit more secure, as the box had some minor dents upon arrival. Still, the product itself is great and functions as expected.
The print head works perfectly with my Canon Pro-10 and restored my printer's performance, but it did take a little longer than I expected for delivery. Overall, I’m happy with the product and the quality, but the shipping speed could be improved. Still, it’s a solid replacement and I’m satisfied.
The logistics for this product were spot on. It shipped promptly, and tracking was provided, so I knew exactly when to expect the package. Everything arrived in perfect condition, and I was able to install the new print head without any hassle. Great service overall!
The Brand
Itopteng
Electric Screwdriver Set 3.6V Multi-Function 220RPM 4N.m 2000 mAh US
Regular price
$99.00
$54.88
Save 45%
- Unit price
- / per
Regular price
$99.00
$54.88
Save 45%
- Unit price
- / per
In stock
topteng 3.6V Electric Screwdriver Set Multi-Function 220RPM 4N.m
Regular price
$99.00
$54.88
Save 45%
- Unit price
- / per
Regular price
$99.00
$54.88
Save 45%
- Unit price
- / per
In stock
Electric Screwdriver Set 3.6V Multi-Function 220RPM 4N.m 2000 mAh
Regular price
$99.00
$54.88
Save 45%
- Unit price
- / per
Regular price
$99.00
$54.88
Save 45%
- Unit price
- / per
In stock
3.6V Electric Screwdriver Set Multi-Function 220RPM 4N.m 2000 mAh
Regular price
$99.00
$54.88
Save 45%
- Unit price
- / per
Regular price
$99.00
$54.88
Save 45%
- Unit price
- / per
In stock
3.6V Electric Screwdriver Set Multi-Function 220RPM 4N.m
Regular price
$99.00
$54.88
Save 45%
- Unit price
- / per
Regular price
$99.00
$54.88
Save 45%
- Unit price
- / per
In stock
Mini Electric Screwdriver Rechargeable Electric Screwdriver
$52.88
- Unit price
- / per
$52.88
- Unit price
- / per
In stock


